Why Your Sourdough Crust Isn't Getting That Golden Crunch

Why a hard crust doesn't always mean a great loaf
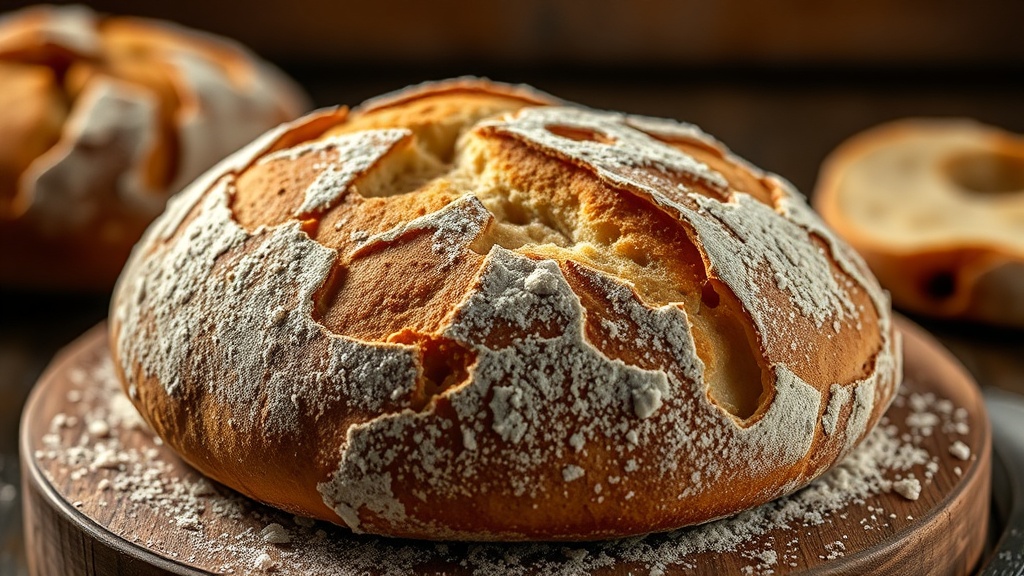
Many people think a thick, hard crust is the only sign of a successful bake, but that's a mistake. A truly great sourdough crust should be thin, crispy, and have a slight shatter when you bite into it—not a thick, chewy shell that feels like eating a piece of wood. If your loaves are coming out with a tough, leathery exterior, it usually isn't your flour or your starter; it's how you're managing moisture and heat in your oven. Understanding the relationship between steam and surface temperature is what separates a hobbyist from someone who produces consistent, bakery-quality results.
When we talk about crust development, we aren't just talking about color. We're talking about the caramelization of sugars and the gelatinization of starches on the surface of the dough. If the surface of your dough dries out too early in the bake, it creates a barrier that prevents the bread from expanding (what we call oven spring). This results in a dense loaf with a dull, hard crust. To get that professional-looking crust, you need to keep the dough surface supple for as long as possible during the first half of the baking process.
Can I use a Dutch oven to get better crust results?
The short answer is yes, and it's one of the most reliable methods for home bakers. A Dutch oven acts as a miniature steam chamber. As the dough expands, it releases moisture, and in a closed vessel, that moisture stays trapped around the loaf. This creates a humid environment that keeps the crust soft and allows the dough to expand fully before the crust sets. This is exactly what professional bakeries do with large-scale steam injection ovens.
If you don't have a Dutch oven, you can try the much more difficult method of using a baking stone or steel with a tray of water in the bottom of the oven. However, the temperature control is much trickier. A Dutch oven provides a controlled environment that's much more forgiving for beginners. If you're looking for more technical details on how steam affects dough, the King Arthur Baking resources offer wonderful insights into the physics of heat transfer during the bake.
Common ways to add steam to your oven
If you aren't using a Dutch oven, you'll need to be intentional about adding steam. Here are a few ways I've experimented with over the years:
- The Ice Cube Method: Drop a few ice cubes onto a preheated heavy-duty baking sheet placed on the bottom rack of your oven right before you slide your bread in. Be careful—the steam can burn you!
- The Water Tray: Place a cast iron skillet or a metal tray at the bottom of the oven and pour boiling water into it right after loading your bread.
- Spray Bottle: Spritzing the oven walls (not the bread itself) with water can help, but it's less effective than a continuous source of steam.
Is the temperature too high for my sourdough?
Temperature is a balancing act. If your oven is too hot right from the start, the crust will burn before the interior is fully cooked, leading to a "burnt outside, raw inside" situation. If it's too low, you won't get enough steam-driven expansion, and the crust will be lackluster. Most sourdough recipes call for a high initial temperature—usually around 450°F (230°C) or even 475°F (245°C)—to kickstart the oven spring. However, many bakers find success by starting high and then dropping the temperature after the lid is removed or the steam is released.
This transition is vital. You want that intense heat to create the steam, but you also need a slightly lower, more sustained heat to finish the bake and dry out the crust to achieve that perfect crunch. If you find your crust is always too hard, try lowering the temperature by 25 degrees for the final 15 minutes of baking. You can check out more about temperature management and oven-specific settings on the Serious Eats website, which has excellent deep dives into baking physics.
How long should I bake my bread to ensure a crispy crust?
There is no single magic number, but a general rule of thumb is to bake with the lid on (or with steam) for about 20-25 minutes, and then bake with the lid off (or without steam) for another 20-25 minutes. The "lid off" stage is where the color develops and the crust hardens into its final texture. This is also when you can use a thermometer to check the internal temperature. A fully baked sourdough loaf should have an internal temperature of about 208°F to 210°F (98°C to 99°C).
If your bread feels light and sounds hollow when you tap the bottom, it's likely done. But don't rush the cooling process! This is a mistake I made constantly when I first started. If you cut into a hot loaf of bread, the steam escaping the interior will actually turn the inside gummy and ruin the texture of the crust you worked so hard to build. Let it cool on a wire rack for at least two hours—ideally three—before even thinking about slicing it.
| Issue | Possible Cause | Fix |
|---|---|---|
| Tough, Leathery Crust | Not enough steam during the first 20 mins | Use a Dutch oven or a water tray |
| Burnt, Bitter Crust | Oven temperature is too high | Lower heat by 25°F for the second half |
| Dull, Non-Shiny Crust | Surface dried out too quickly | Increase humidity/steam or check oven seals |
| Soft, Soggy Crust | Bread was cut while still warm | Wait at least 2 hours before slicing |
Remember, baking is a practice. Every loaf is a data point. If your crust isn't where you want it to be, don't get discouraged. It's usually just a small tweak in your timing or temperature that makes the difference. I've had more "failed" loaves than successful ones, and honestly, those failures taught me more than the perfect ones ever did. Keep experimenting, keep baking, and don't let a tough crust stop you from the joy of a homemade loaf.