Why Your Bread Crust Is Too Tough

What You Will Learn About Bread Crust Texture
In this guide, you will learn exactly why your homemade bread crust might be coming out too tough, hard, or even tooth-breaking instead of the crispy, thin, or chewy texture you desire. We will break down the specific variables in your baking process—including steam, oven temperature, hydration, and flour selection—so you can troubleshoot your specific loaf and achieve professional results in your home kitchen.
A "tough" crust is often a symptom of one of three things: too much heat for too long, a lack of moisture in the oven, or an incorrect ratio of ingredients. While a crust should have some structural integrity, it should never feel like a rock. Whether you are baking a sourdough boule or a simple white loaf, understanding the science of the crust is the key to consistent success.
The Role of Steam in Crust Development
Steam is arguably the most critical factor in determining the final texture of your bread's exterior. When you first slide your dough into the oven, the heat causes the gases inside the dough to expand. If there is enough steam in the oven during this initial stage, the surface of the dough remains soft and extensible for a longer period. This allows the bread to expand fully (the "oven spring") before the crust hardens.
Why Lack of Steam Creates a Hard Crust
If you do not introduce steam, the surface of the dough dries out almost immediately upon entering the oven. This creates a premature, rigid shell that prevents the bread from rising fully and results in a thick, hard, and often dull-looking crust. This is a common issue when baking on a standard home baking sheet without any moisture management.
To fix this, you need to implement a steam-generating method. Here are three practical ways to do this at home:
- The Dutch Oven Method: This is the most reliable way for home bakers. By baking your dough inside a preheated cast-iron Dutch oven (like a Le Creuset or Lodge), you trap the steam that is released from the dough itself. This creates a self-contained steam chamber that keeps the crust supple during the crucial first 20 minutes of baking.
- The Water Tray Method: If you are baking on a baking stone or a flat sheet, place an empty cast-iron skillet or a heavy-duty roasting pan on the bottom rack of your oven while it preheats. When you load your bread, pour a cup of boiling water into the hot pan and quickly close the oven door.
- The Ice Cube Trick: For recipes using a baking stone, you can drop a few ice cubes onto a piece of parchment paper near the dough (but not directly touching it) right as you slide the bread into the oven. This creates a sudden burst of steam.
Temperature Control and Baking Time
The relationship between temperature and time dictates how much "Maillard reaction" occurs—the chemical reaction between amino acids and reducing sugars that gives bread its brown color and flavor. However, if your temperature is too high or your bake time is too long, you will end up with a crust that is burnt or excessively hard.
Oven Temperature Settings
If you are baking at a consistently high temperature, such as 475°F (245°C), you are aiming for a thick, crunchy crust. While this is great for certain rustic sourdoughs, it can be too much for softer sandwich breads. If your crust feels like a brick, try lowering your oven temperature by 25°F after the initial 20 minutes of baking. This allows the interior to finish cooking without the exterior becoming overly dehydrated.
The Danger of Over-Baking
Many bakers rely solely on the color of the crust to judge when a loaf is done. While a deep mahogany color is a sign of great flavor, it can also be a sign that the moisture has been completely driven out of the crust. Always use an instant-read thermometer to check the internal temperature of your bread. For most lean doughs, an internal temperature of 205°F to 210°F (96°C to 99°C) is the target. If you hit this temperature but the crust is still too dark, you may need to tent the loaf with aluminum foil halfway through the baking process to protect the exterior.
Hydration and Dough Composition
The amount of water in your dough—known as the hydration level—directly affects the final texture. A dough with high hydration (more water relative to flour) typically produces a thinner, more translucent, and crispier crust. A low-hydration dough (stiffer dough) tends to produce a thicker, more substantial, and tougher crust.
The Impact of Flour Type
The protein content in your flour determines how much water the dough can absorb and how much structure it will have. High-protein bread flours or even some types of whole wheat flour can create a much tougher crust if the hydration isn't adjusted. If you are using a heavy, whole-grain flour, you might find the crust feels more "dense" rather than "crispy."
If you are struggling with a crust that feels too heavy, ensure you are using the right tools for your specific flour. For example, knowing 7 types of flour you should keep in your pantry can help you choose a flour that better suits the light, airy crust you are aiming for. For a softer crust, a lower protein flour or a blend of bread flour and all-purpose flour can work well.
Sugar and Fats
If you are making an enriched dough (like brioche or a sandwich loaf), the addition of fats (butter, oil) and sugars (honey, granulated sugar) will naturally soften the crust. Fats coat the flour proteins and interfere with the formation of a rigid gluten network, resulting in a much more tender exterior. If your "tough" bread is a recipe that is supposed to be soft, check your fat ratios. A lack of enough fat or sugar can lead to a crust that feels much harder than intended.
Common Mistakes to Avoid
Even with the right ingredients, small errors in technique can lead to a disappointing, tough crust. Here are the most frequent culprits I see in home kitchens:
- Skipping the Cooling Process: This is a major one. If you cut into your bread while it is still hot, the steam inside is still moving. This can actually make the crust feel "leathery" or "rubbery" rather than crisp. Let your bread cool on a wire rack for at least one hour. This allows the moisture to redistribute and the crust to set properly.
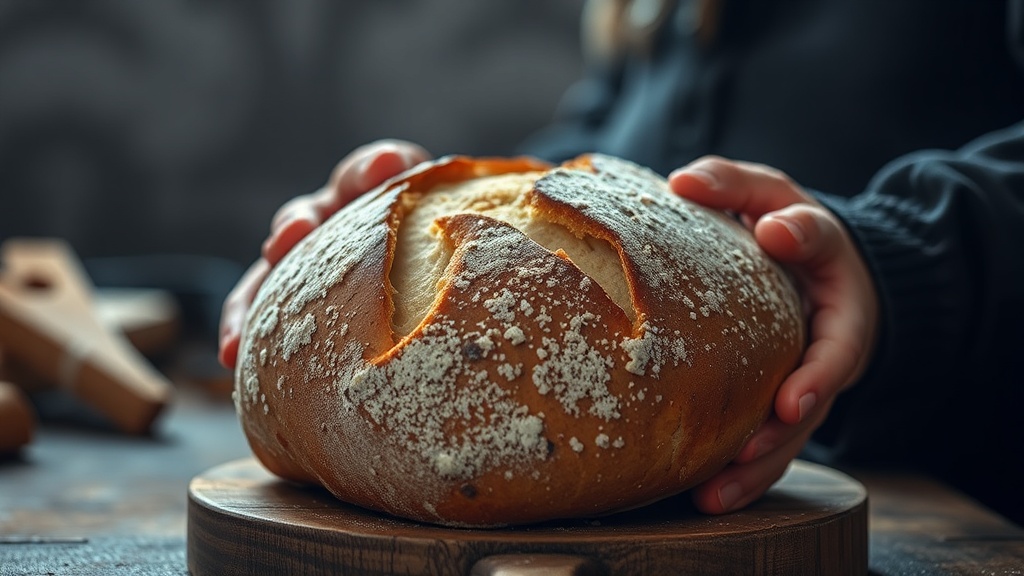
- Using Too Much Flour During Shaping: If you heavily flour the outside of your loaf during the shaping stage, that flour can bake into a hard, white, crusty layer that feels gritty and tough. Try to use as little excess flour as possible on the exterior of the dough.
- Incorrect Proofing: Under-proofed dough often results in a dense loaf with a very hard, thick crust. If the yeast hasn't had enough time to create gas bubbles, the crust will form too quickly around a dense mass, making it feel much tougher than a well-proofed loaf.
Troubleshooting Checklist
If your most recent loaf came out too tough, run through this quick checklist to identify the culprit:
- Is the crust thick and dull? You likely lacked steam. Try using a Dutch oven or adding a water tray to your oven.
- Is the crust dark but the bread is undercooked? Your oven temperature is too high. Lower the temperature and use foil to protect the crust.
- Is the crust hard and the bread feels heavy? You might have under-proofed the dough or used a low-hydration recipe.
- Is the crust leathery rather than crispy? You likely cut the bread while it was still too warm.
Baking is a science, but it is also a sensory experience. Don't be discouraged by a tough crust; every "fail" is just a data point for your next successful bake. By adjusting your steam, temperature, and hydration, you will move from a "tough" loaf to a perfect, artisanal crust in no time.