No‑Knead Sourdough Bread: Easy Step‑by‑Step Guide

What makes a no‑knead sourdough loaf so irresistible?
Imagine pulling a golden‑crusted loaf of sourdough from the oven with minimal effort—just a handful of ingredients, a bit of patience, and no muscle‑burning kneading. It sounds like a baker’s dream, and it’s totally doable in your home kitchen.
Why try a no‑knead method?
Traditional sourdough can feel intimidating because of the long fermentation and the need to develop gluten by hand. The no‑knead approach lets the dough develop its structure through time, not torque, giving you a light‑yet‑chewy crumb without the arm workout.
What you’ll need
- Active sourdough starter (fed within the last 12 hours)
- All‑purpose flour or a blend of 70 % bread flour & 30 % whole‑wheat flour
- Water (room temperature)
- Sea salt
- Large mixing bowl (at least 4 L capacity)
- Plastic wrap or a damp kitchen towel
- Lidded Dutch oven (or a heavy‑sided cast‑iron pot) for baking
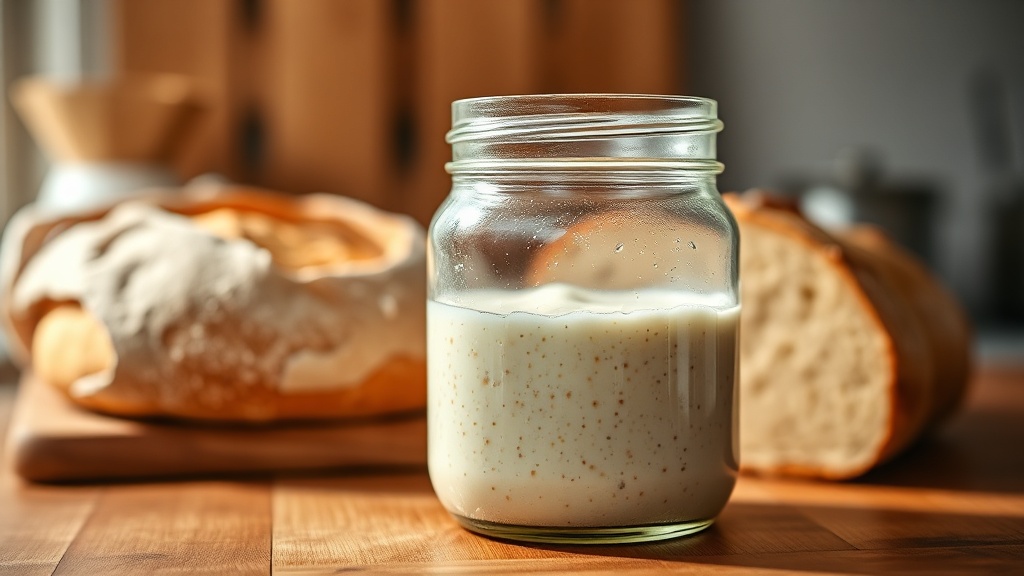
How do I prepare the starter?
Start with a healthy, bubbly starter. Feed it with equal parts flour and water by weight (1:1:1 ratio) and let it double in size. A mature starter should smell mildly sweet‑sour and have a lot of bubbles on the surface.
What’s the exact mixing process?
- Combine flour and water. In your bowl, whisk 500 g flour with 400 g water until no dry bits remain. Let it rest 30 minutes (autolyse). This hydrates the flour and starts gluten formation.
- Add starter and salt. Stir in 100 g active starter and 10 g sea salt. Mix until fully incorporated—no need to knead; a sturdy spoon or your hand will do.
- Cover and let rise. Cover the bowl with plastic wrap and let it sit at room temperature (70‑75 °F) for 12‑16 hours. The dough should puff up, become airy, and show bubbles on the surface.
When should I shape the loaf?
After the bulk fermentation, gently turn the dough onto a lightly floured surface. Using a bench scraper, shape it into a tight round (boule) by folding the edges toward the center, then flip it seam‑side down and tighten the surface tension with a quick, gentle pull.
How long does the second rise take?
Place the shaped dough seam‑side up in a well‑floured proofing basket or a bowl lined with a floured kitchen towel. Cover and let it rest for 2‑3 hours, or refrigerate overnight for a deeper flavor. If you’re in a hurry, a 2‑hour room‑temperature proof works fine.
What’s the best way to bake?
- Preheat your oven. Place the Dutch oven (with lid) inside and heat to 500 °F (260 °C) for at least 30 minutes.
- Score the loaf. Using a sharp razor or lame, cut a shallow “X” or a single slash on the top. This controls where the bread expands.
- Bake with steam. Carefully transfer the dough onto a parchment sheet, place it inside the hot Dutch oven, cover, and bake for 20 minutes.
- Finish the bake. Remove the lid, lower the temperature to 450 °F (230 °C), and bake another 20‑25 minutes until the crust is deep amber and the internal temperature hits 205 °F (96 °C).
- Cool properly. Let the loaf rest on a wire rack for at least 1 hour before slicing. This lets the crumb set and the flavor mature.
Pro tips for a flawless loaf
- Use a kitchen scale. Baking is science; weight measurements are more accurate than volume.
- Maintain consistent temperature. Fluctuations can stall fermentation. A warm spot (like an oven with the light on) works well.
- Hydration matters. Aim for 80 % hydration (water weight ÷ flour weight). Higher hydration yields a more open crumb.
- Don’t over‑proof. If the dough spreads too much during the second rise, it may collapse in the oven.
Common mistakes and how to fix them
- Starter is weak. If the starter doesn’t double in 4‑6 hours after feeding, give it a few more feedings at a warmer temperature.
- Dough is too dry. Add a splash of water (5‑10 g) during mixing; the dough should feel tacky, not crumbly.
- Crust is pale. Increase the final bake temperature or extend the uncovered baking time by 5 minutes.
- Crumb is gummy. Ensure the internal temperature reaches at least 205 °F; under‑baked loaves retain moisture.
Wrap‑up: What you’ve accomplished
By following this no‑knead method, you’ve turned a handful of pantry staples into a rustic sourdough loaf with a caramelized crust, a chewy interior, and a subtle tang that only a living starter can provide. Pair it with butter, olive oil, or your favorite jam, and you’ve got a bakery‑quality bread without the sweat.
What’s next?
Try experimenting with whole‑grain flours, adding seeds or herbs to the dough, or using the same technique for a hearty rye loaf. The no‑knead foundation makes customization effortless.
Related reading
- 5 Spring Baking Trends to Try This Season — discover fresh flavor ideas to fold into your sourdough.
- Pillsbury’s New Pistachio Cake Mix: A Home Baker’s Review & How‑To — see how a mix compares to scratch‑baking.
- Daylight Saving Shift: Quick Meal Prep Tips for Better Digestion — quick‑tip ideas for pairing your fresh bread with healthy meals.
Steps
- 1
Combine flour and water (autolyse)
Whisk 500 g flour with 400 g water, rest 30 minutes.
- 2
Add starter and salt
Stir in 100 g starter and 10 g salt until fully incorporated.