How to Make a Gluten‑Free Sourdough Starter – Beginner Guide

Why bother with a gluten‑free sourdough starter?
Gluten‑free bakers often hear that sourdough is a "magic" way to get better texture and flavor without the gluten. The natural fermentation breaks down starches, improves digestibility, and adds a tangy depth you can’t get from straight‑mix breads. If you’ve been stuck making dense rice‑flour loaves, a starter can be the game‑changer you need – without any hidden gluten. For a deeper dive into how fermentation works, see my Tangzhong guide.
What tools and pantry items do I need?
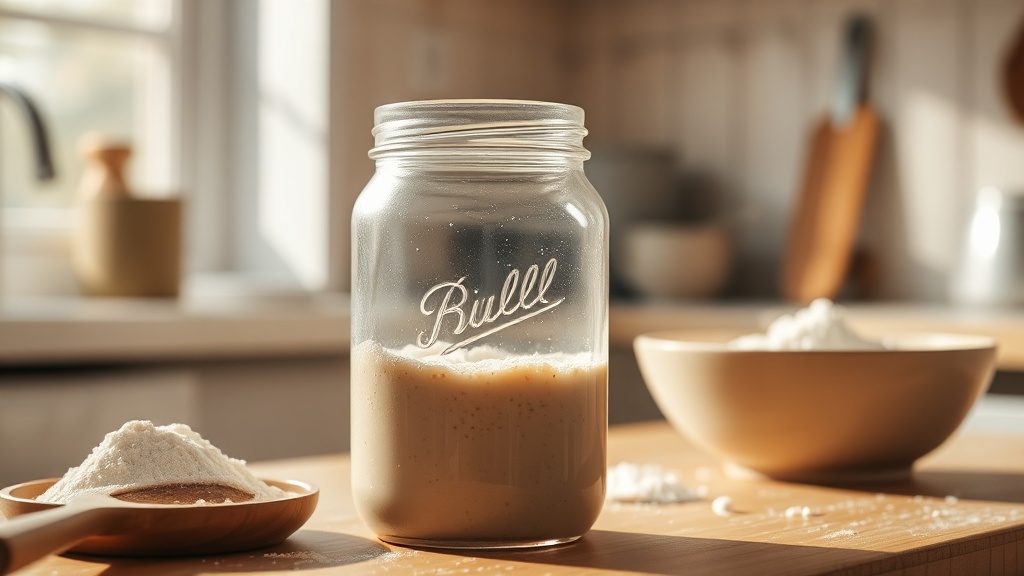
- Non‑reactive container – a clear glass jar (½‑liter to 1‑liter) works best so you can watch the bubbles.
- Scale – accuracy matters; 1 g = 0.035 oz.
- Gluten‑free flour – millet, sorghum, buckwheat, or a blend. I recommend testing your flour for freshness first.
- Water – filtered or bottled, at room temperature.
- Spatula or wooden spoon – avoid metal that can react with the starter.
How do I start the starter (Day 0‑1)?
- Weigh 50 g of millet flour and 50 g of water into your jar.
- Stir until no dry pockets remain. The mixture will look thick and a little lumpy.
- Cover loosely with a cloth or a lid that isn’t sealed – the starter needs airflow.
- Let sit at 70‑75 °F (21‑24 °C) for 24 hours.
Don’t worry if you don’t see bubbles yet; the wild yeast is just waking up.
What’s the feeding schedule for the first week?
From Day 2 onward, feed the starter twice a day (about 12 hours apart). Each feed follows the same 1:1 flour‑to‑water ratio.
- Discard half of the starter (≈ 50 g). This keeps the acidity balanced and prevents a giant jar.
- Add 25 g millet flour and 25 g water. Stir well.
- Cover and return to the same temperature.
By Day 4 you should smell a pleasant “sour” aroma and see a noticeable rise after each feed. If the starter looks overly watery, add a teaspoon of gluten‑free xanthan gum – it helps retain structure.
When is the starter ready to bake?
When it consistently doubles in size within 4‑6 hours of feeding and has a frothy surface, it’s mature enough. A quick “float test” confirms readiness: drop a teaspoon of starter into a glass of room‑temperature water; if it floats, it’s airy and ready.
How do I keep the starter alive long‑term?
- Refrigerate after the first week if you’re not baking daily. Feed once a week (discard half, feed 1:1).
- Refresh with a different gluten‑free flour every few months (e.g., switch to buckwheat) to keep the microbial community diverse.
- Watch for off‑smells – a rotten or metallic odor means it’s time to start over.
Common mistakes and how to avoid them
- Using metal bowls – they can inhibit yeast. Stick to glass or ceramic.
- Feeding with too much water – a 1:1 ratio is key. Too thin a starter won’t develop enough acidity.
- Skipping discards – the starter will become overly sour and may develop mold. See my bread‑rise troubleshooting post for more.
- Cold kitchen – if your home is below 65 °F, extend feeding intervals to 24 hours.
Where can I learn more?
For a deep dive into the science of gluten‑free fermentation, check out the King Arthur Baking gluten‑free starter recipe. The Serious Eats article on gluten‑free sourdough also covers troubleshooting tips.
Takeaway
Creating a gluten‑free sourdough starter is a simple, low‑cost way to elevate your gluten‑free breads. With just millet flour, water, and a bit of patience, you’ll have a living culture that adds flavor, texture, and digestibility to every loaf. Start today, feed twice daily for a week, and you’ll be on your way to lighter, tastier gluten‑free baking.
Ready to put it to the test? Try my Winter Rescue Routine for a starter that’s been neglected – the same principles apply, just with a slower schedule.