How to Blind Bake a Pie Crust for Flaky, Golden Results

Blind baking might sound intimidating, but it's simply the process of baking a pie crust without any filling inside. This post covers everything needed to achieve a flaky, golden shell that won't slump, shrink, or turn soggy when loaded with custard, cream, or fruit. Whether you're tackling a classic pumpkin pie for Thanksgiving or a silky chocolate tart for a dinner party, knowing how to blind bake makes the difference between a professional-looking dessert and a disappointingly pale bottom.
What is blind baking and why does it matter?
Blind baking is the technique of partially or fully baking an empty pie shell before adding the filling. The process prevents the dreaded soggy bottom—especially common with wet fillings like quiche or lemon curd—and gives the crust enough structure to hold its shape. Without it, raw dough can slump down the sides of the pan, bubble up in the center, or stay doughy underneath even after the filling is cooked. Think of it as giving the crust a head start so it can stand up to whatever creamy, fruity, or chocolatey creation you pour inside.
Here's the thing: not every pie needs this step. A double-crust apple pie bakes long enough that the bottom crust cooks through naturally. But for cream pies, custard pies, and no-bake fillings, blind baking isn't optional—it's the foundation of a great dessert. King Arthur Baking Company explains that this method is particularly important when the filling itself doesn't require much oven time, because the crust needs a head start to become crisp and stable.
What tools do you need to blind bake a pie crust?
You don't need a professional kitchen to blind bake successfully. A few reliable tools make the job easier and far more consistent.
Start with a good pie plate. Pyrex glass plates let you see the bottom browning, which helps avoid underbaking. Ceramic dishes (like those from Emile Henry) hold heat beautifully and create a crispier crust. Metal tins work too, though they conduct heat faster and can brown the edges before the bottom is ready.
You'll also need:
- Parchment paper—not wax paper, which can melt
- Ceramic pie weights (Mrs. Anderson's Baking makes a popular set) or dried beans
- A rolling pin and a fork for docking
- Pie crust shields or strips of aluminum foil
Here's the thing: an oven thermometer is surprisingly helpful. Home ovens often run 25 degrees hot or cold, and pastry is unforgiving. A small investment in a thermometer (the ThermoWorks DOT is accurate and easy to read) eliminates a lot of guesswork.
How do you keep pie crust from shrinking when blind baking?
Shrinking happens when the gluten in the dough tightens up in the oven's heat. The easiest way to prevent it is to chill the dough thoroughly before baking.
After fitting the rolled dough into the pie plate, pop the whole thing into the refrigerator for at least 30 minutes—an hour is even better. (This also relaxes the gluten and firms up the butter, which creates flakier layers.) Letting the dough rest at room temperature before rolling helps too, but the final chill in the pan is non-negotiable if shrinkage is a concern.
Don't stretch the dough when pressing it into the pan. Stretching creates tension, and tension causes the sides to slide down like a sad sock. Instead, lift the edges and let the dough settle gently into the corners. Leave a little overhang around the rim—about half an inch—so the edge has somewhere to go if it does contract slightly. If you're feeling fancy, crimping the edge adds weight that helps hold the sides in place.
Should you use pie weights or dried beans for blind baking?
Both options work, but they behave differently in the oven. Pie weights are reusable, evenly weighted, and easy to pour in and out. Dried beans (or rice) are cheaper and probably already in the pantry, though they won't conduct heat as evenly and can't be cooked afterward.
| Method | Pros | Cons | Best For |
|---|---|---|---|
| Ceramic Pie Weights | Reusable, distribute heat evenly, easy to clean | More expensive upfront, can be heavy to store | Frequent bakers, even browning |
| Dried Beans or Rice | Inexpensive, already on hand, mold to the crust | Can't be cooked later, less even heat distribution | Occasional bakers, one-off projects |
| Granulated Sugar | Fills every corner, cheap, reusable indefinitely | Can caramelize at high temps, needs cooling before removal | Deep-dish pies, tart pans |
Worth noting: some bakers swear by granulated sugar as a weight. It pours easily, fills the entire surface, and can be reused many times. The catch? It can caramelize a bit if the oven runs hot, though that just means you end up with toasted sugar—hardly a tragedy.
How do you blind bake a pie crust step by step?
Follow this method for reliable results every time.
Partial vs. Full Bake
A partially baked crust is dry and pale gold—perfect for quiches or pies that return to the oven with the filling. A fully baked crust is deeper in color and completely crisp, which is what you want for no-bake fillings like chocolate cream or banana pudding.
- Roll and chill. Roll the dough into a circle about 12 inches across and transfer it to the pie plate. Trim the overhang to about half an inch, fold the edge under, and crimp if desired. Refrigerate for at least 30 minutes. Cold butter is your best friend here—it creates steam in the oven, which puffs up the layers and makes the crust flaky.
- Dock the dough. Use a fork to prick the bottom of the crust all over. This lets steam escape and reduces puffing. Don't be shy—aim for holes about an inch apart across the entire surface.
- Line with parchment. Press a sheet of parchment paper firmly against the dough, making sure it reaches the corners and up the sides. Trim any excess that hangs over the rim so it doesn't burn.
- Add weights. Fill the parchment with pie weights or dried beans until they reach the top of the crust. The weights should be snug against the dough—this keeps the bottom flat and the sides upright. Shake the pan gently to settle everything.
- First bake. Bake at 425°F (220°C) for about 15 minutes, until the edges look set and somewhat dry. The crust won't be golden yet, but it should hold its shape when you peek underneath the parchment.
- Remove weights. Carefully lift out the parchment and weights. The bottom will still look pale and wet. Set the weights aside to cool.
- Second bake. Return the crust to the oven (reduce heat to 375°F / 190°C) and bake for another 8–12 minutes, until the bottom is dry and lightly golden. For a fully baked shell, keep going until it's uniformly golden—about 5 minutes longer.
- Cool and fill. Let the crust cool completely on a wire rack before adding any filling. A warm crust can melt butter-based fillings or make custard weep.
Worth noting: if the edges brown too quickly during the second bake, tent them loosely with foil or slide on a silicone pie shield. Serious Eats recommends checking the bottom crust by lifting the pie plate with an oven mitt and peeking at the underside—that's the best indicator of doneness.
What fillings work best with a blind-baked crust?
Any filling that doesn't need much oven time—or none at all—benefits from a pre-baked shell. Think banana cream pie, fresh strawberry tart, lemon meringue pie, or chocolate ganache tart. Quiche fillings also do well in a partially baked crust, since the custard sets faster than raw dough can crisp.
For fruit pies with long bake times, like peach or cherry, blind baking usually isn't necessary. The juices need time to thicken, and the extended heat cooks the bottom crust through. That said, a quick partial bake can still help if the filling is exceptionally juicy. Some bakers brush the partially baked shell with egg white before adding fruit—it creates a seal that keeps the juices from turning the bottom mushy. This extra step takes two minutes and can save a pie from becoming a soupy disappointment.
How do you fix common blind baking problems?
Most blind baking problems can be fixed with a few simple adjustments.
Soggy bottom: The crust wasn't baked long enough after removing the weights. The bottom needs to look dry and matte before any filling goes in. For extra insurance, brush the hot crust with a thin layer of egg white and bake for another minute—it creates a moisture barrier.
Shrunken sides: The dough was too warm going into the oven, or it was stretched when placed in the pan. Next time, chill longer and handle the dough more gently.
Puffed center: The weights weren't heavy enough, or steam pockets formed where the fork didn't pierce the dough. Press the weights firmly into the corners and dock more thoroughly.
Cracked crust: The dough was too dry or rolled too thin. A slightly thicker crust is more forgiving. Patch small cracks with a bit of water and dough scraps before baking.
Burned edges: The oven temperature was too high, or the crust sat too close to the top heating element. Move the rack to the lower third of the oven and shield the rim with foil after the first bake.
"The single biggest mistake home bakers make is pulling the crust out too early. When in doubt, give it another two minutes."
That said, every oven is different. A thermometer (like the ThermoWorks DOT) takes the guesswork out of oven calibration. If the crust consistently underbakes, the oven might be running cool.
Blind baking isn't complicated—it's just a matter of patience, cold dough, and enough weight to keep everything in place. Once this technique becomes second nature, the door opens to all kinds of impressive pies and tarts that look as good as they taste. A perfectly blind-baked crust is the kind of small victory that builds confidence in the kitchen—and before long, you'll be volunteering to bring the pie to every gathering. For more advanced techniques, America's Test Kitchen offers detailed video tutorials that walk through every stage of the process.
Steps
- 1
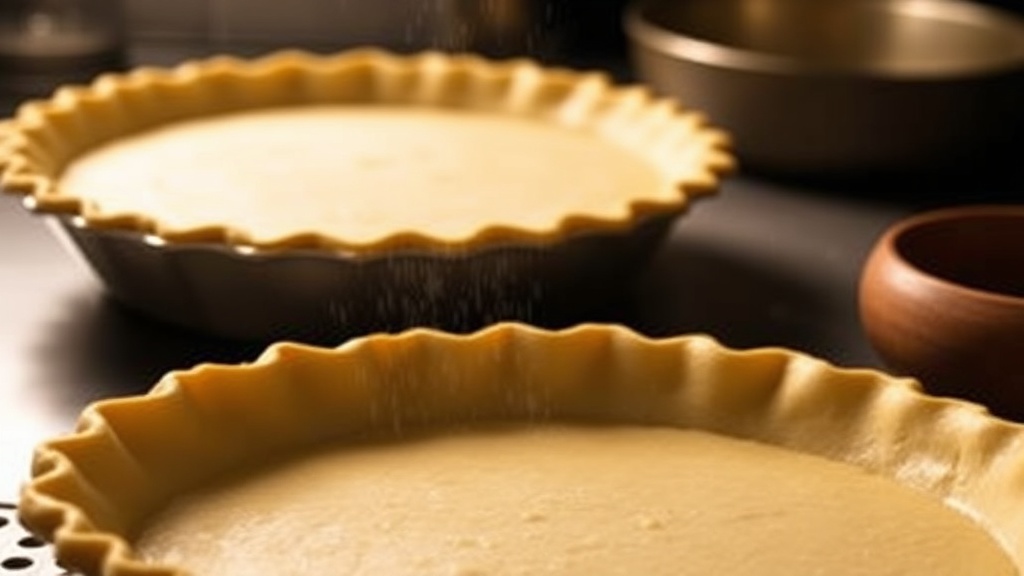
Chill and roll out your pie dough into the dish
- 2
Line the crust with parchment and fill with pie weights
- 3
Bake until set, then remove weights for a golden finish