The Warm, Chewy Magic of Homemade Pretzels (Easier Than You Think!)

There's something magical about pulling a golden-brown pretzel from your own oven—the way your kitchen fills with that unmistakable aroma of warm bread and toasted salt, and how that first bite gives you that perfect crackle followed by a soft, chewy center. I still remember the first time I made these successfully; I was expecting the complicated, intimidating process I'd heard rumors about, but instead found one of the most forgiving, joyful doughs a home baker can work with.
Why This Recipe Has My Heart
My love affair with pretzels started at a baseball game with my grandfather, but it wasn't until I tried making them at home that I truly fell head over heels. The first batch I made was lumpy, pale, and frankly embarrassing—but they tasted like accomplishment. Now, years later, I make these for my kids on snowy weekends, for neighbor gifts, and whenever I need to remind myself that good things take time, but not necessarily complicated pastry school skills. This recipe is my hug-in-food-form, and I'm so excited to share it with you.
The Ingredients That Matter
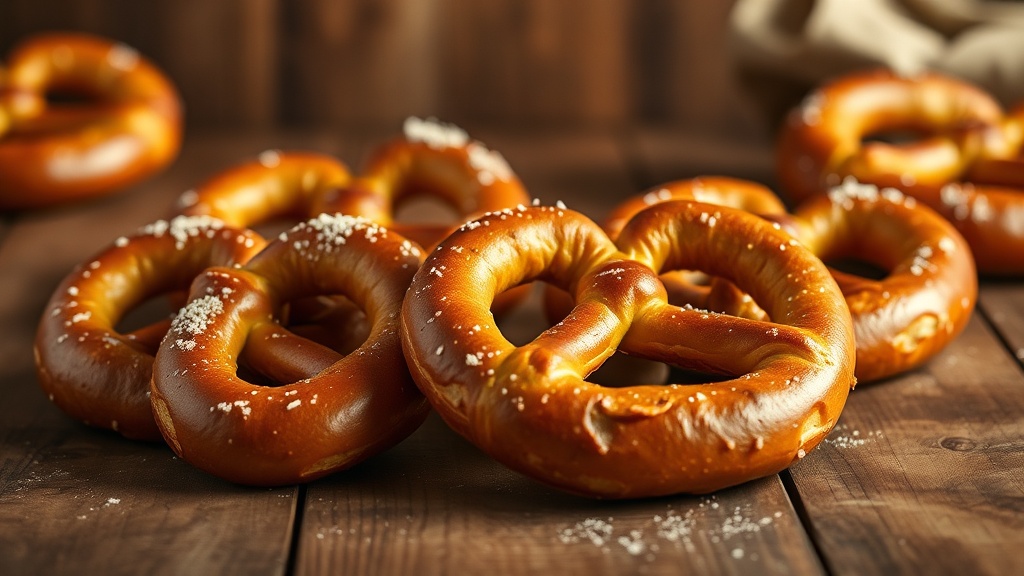
Let's talk about what makes these pretzels truly special. Bread flour is your best friend here—its higher protein content gives you that signature chewy texture that all-purpose flour just can't quite achieve. Don't skip the baking soda bath; this isn't just for color (though it gives that gorgeous mahogany shine), but it creates that distinctive pretzel crust and prevents the dough from rising too much during baking, keeping that dense, satisfying bite we all crave. Finally, coarse sea salt or pretzel salt is non-negotiable—table salt will melt right into the dough and disappear, while those crunchy flakes give you that classic look and taste.
Let's Bake Together
Step 1: Make the Dough
Dissolve your yeast in warm water (think bathwater temperature—too hot will kill it, too cold won't wake it up). Add your flour, salt, and a touch of sugar, then knead for about 5-7 minutes until the dough is smooth and slightly tacky, not sticky. Here's my secret: resist the urge to add too much flour! A slightly sticky dough creates softer pretzels.
Step 2: First Rise
Place your dough in a greased bowl, cover with a clean kitchen towel, and let it rise until doubled—about an hour. This is your time to pour a cup of tea and practice patience.
Step 3: Shape with Confidence
Divide the dough into 8 pieces. Roll each into a rope about 20 inches long—if it keeps springing back, let it rest for 5 minutes to relax the gluten. To shape, form a U, cross the ends over each other twice, then fold them down to the bottom of the U. Press gently to seal. Don't worry if they're not perfect; rustic means homemade!
Step 4: The Magic Bath
Bring water and baking soda to a boil. Drop each pretzel in for 30 seconds—this is what transforms them from breadsticks into pretzels. Remove with a slotted spoon, place on a parchment-lined baking sheet, and sprinkle with coarse salt immediately while wet.
Step 5: Bake
Bake at 450°F for 12-14 minutes until they're deep golden brown. They should sound hollow when tapped on the bottom.
Common Mistakes to Avoid
I've made every error possible so you don't have to! Don't skip the baking soda bath—I know it seems like an extra step, but without it, you'll have brown breadsticks, not pretzels. Don't overcrowd the pot when boiling; this drops the temperature and affects the crust formation. Avoid under-baking; pale pretzels mean soggy centers, and nobody wants that. If they're getting too brown too fast, tent loosely with foil rather than pulling them out early.
Make Them Your Own
Once you've mastered the classic, the world is your pretzel! Brush with melted butter right out of the oven and roll in cinnamon-sugar for a sweet treat, or sprinkle with garlic powder and parmesan for savory goodness. My kids love when I stuff the ropes with cheese before shaping—just pinch the seams extra well. Serve with spicy mustard, beer cheese, or—my personal favorite—a side of warm queso for dipping.
You did it! Look at those beautiful pretzels cooling on your counter. Whether they twisted perfectly or have character (we don't call them mistakes here, we call them rustic), they're yours, and they're going to taste incredible. Baking is about joy, not perfection, and every time you make these, you'll get a little better and a lot more confident. Now go enjoy that first warm bite—you've earned it!