The Tiramisu That Won My Grandmother's Heart: A Foolproof Recipe for Beginners

There's something magical about the way a perfect Tiramisu can transport you straight to a sun-dappled café in Venice with just one spoonful. When I first attempted this elegant Italian classic fifteen years ago, I was terrified of the raw eggs and convinced I'd end up with a soupy mess. Instead, I discovered that with patience and quality ingredients, this "pick-me-up" dessert is far more forgiving than its reputation suggests—and utterly worth every moment of preparation.
My Tiramisu Journey
I truly fell in love with Tiramisu during my grandmother's 80th birthday celebration. I'd promised to bring dessert but was woefully short on time, so I assembled it the night before, crossing my fingers that the flavors would meld. The next evening, watching my Nonna close her eyes in bliss at that first creamy bite, I knew I'd found my signature dessert. It wasn't just the taste; it was the way this dish creates connection, inviting everyone to linger at the table just a little longer, savoring both the food and the company.
The Ingredients That Matter
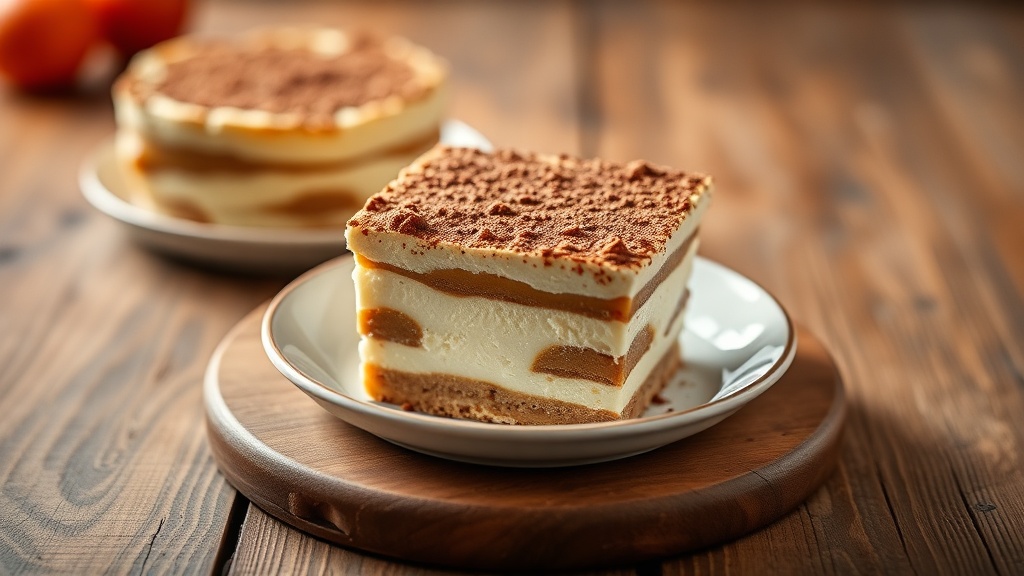
The secret to an unforgettable Tiramisu lies in respecting your ingredients. Start with authentic mascarpone cheese—please promise me you won't substitute cream cheese, which lacks that silky, luxurious mouthfeel we crave. Your espresso should be strong and freshly brewed; stale or weak coffee makes for a flat, uninspired dessert. Use true Italian ladyfingers (Savoiardi) rather than soft sponge cake—they hold their structure without turning to mush. And splurge on good unsweetened cocoa powder and fresh organic eggs, preferably at room temperature for easier whipping.
Step-by-Step to Creamy Perfection
Begin by brewing one cup of strong espresso and letting it cool completely—warm coffee will melt your cream and turn your cookies to soup. In a large bowl, whisk together four egg yolks and half a cup of sugar until pale, thick, and ribbony, about five minutes of patient whisking. Here's where gentleness pays off: fold in one pound of mascarpone until just combined, then carefully incorporate stiffly beaten egg whites (or whipped heavy cream if you prefer the egg-free version). The mixture should be light and airy, not dense or overworked.
For assembly, work quickly but deliberately. Dip each ladyfinger into the cooled coffee for exactly two seconds per side—I actually count it out loud! Too long and you'll have soggy layers; too short and they'll stay dry and crisp. Arrange a tight layer in your dish, spread half the mascarpone mixture smoothly, then repeat with another layer of dipped cookies and the remaining cream. Dust generously with cocoa powder before chilling, then again right before serving for that classic bitter-sweet finish.
Mistakes I've Made So You Don't Have To
The biggest error I see home bakers make is rushing the chilling process. Tiramisu needs at least four hours in the refrigerator, though overnight is truly transformative. Those hours allow the flavors to marry, the cookies to soften into cake-like layers, and the texture to set into that perfect cloud-like consistency. Also, never use hot coffee or skip the final cocoa dusting—that bitter top layer is essential for balancing the sweetness. And please, resist the urge to over-soak; we've all had that tragic soggy-bottom Tiramisu, and it's entirely preventable.
Make It Your Own
If you're feeling adventurous, try assembling in individual wine glasses for elegant dinner parties—it looks impossibly sophisticated with zero extra effort. For summer gatherings, layer fresh raspberries or sliced strawberries between the cream and cookies. Chocolate lovers can add a tablespoon of cocoa powder to the mascarpone mixture for extra richness. And for those avoiding alcohol, simply omit the Marsala wine or coffee liqueur—the espresso provides plenty of depth and complexity on its own.
A Final Encouragement
Remember, beautiful baking isn't about Instagram-perfect presentation; it's about sharing love through food. Your Tiramisu might not look like it came from a Venetian pastry shop, but when you see your guests scraping their plates for the last creamy bite, you'll know you've succeeded. Give yourself permission to enjoy the process, embrace the imperfection, and don't forget to save a spoonful for yourself. Happy baking, dear friends!