The Foolproof Friday Night Pizza Dough That Changed My Kitchen

There's something magical about the moment flour meets water and yeast—watching simple ingredients transform into a pillowy, elastic dough that becomes the canvas for your favorite toppings. When I first started making pizza at home, I was intimidated by the idea of making my own dough. I thought it required special equipment, years of Italian training, or maybe just a secret gene I didn't inherit. But after one attempt with this foolproof recipe, I was absolutely hooked. Now, Friday nights in our house mean flour-dusted countertops, the comforting smell of fresh yeast wafting through the kitchen, and my kids giggling as they stretch their own mini pizzas, inevitably creating shapes that look more like abstract art than circles.
This recipe has become my love letter to slow food. It's not just about the end result (though that crispy, chewy crust with those beautiful leopard spots is pretty spectacular); it's about the process itself—the way kneading dough can turn a stressful day into a meditative moment, and how the anticipation of that first rise makes the final pizza taste even better. There's a special kind of pride in creating something from scratch that feeds the people you love.
Understanding Your Ingredients
The beauty of great pizza dough lies in understanding why each ingredient matters. I use bread flour because the higher protein content (around 12-14%) creates those beautiful gluten strands that give pizza its characteristic chew and structure. If you only have all-purpose flour, that's absolutely fine too—your crust will be slightly more tender and delicate. The water temperature is crucial: aim for lukewarm (about 105-110°F), like a warm bath for your wrist. Too hot and you'll kill the yeast; too cold and the yeast won't wake up properly. I prefer active dry yeast for its reliability, though instant yeast works too—just skip the blooming step if you use it. Don't skimp on the salt; it's not just for flavor, it actually tightens the gluten structure and strengthens the dough. Finally, a drizzle of good olive oil adds subtle richness, helps create that golden exterior, and makes the dough easier to stretch.
Step-by-Step to Pizza Perfection
Here's how we bring it all together. In a large bowl, whisk together 3 cups of bread flour, 1 teaspoon of sugar (which helps with browning), 1 teaspoon of salt, and 2¼ teaspoons of active dry yeast. Make a well in the center and pour in 1 cup of warm water and 2 tablespoons of olive oil. Mix until shaggy—it will look messy and rough—then turn onto a lightly floured surface.
Here's my favorite part: knead for 8-10 minutes. Push the heel of your hand into the dough, fold it over, and rotate. You're looking for that "windowpane test"—stretch a small piece of dough thin enough to see light through without it tearing. If the dough sticks to your hands, add flour one tablespoon at a time, but resist the urge to over-flour—a slightly tacky dough makes much better pizza than a stiff one.
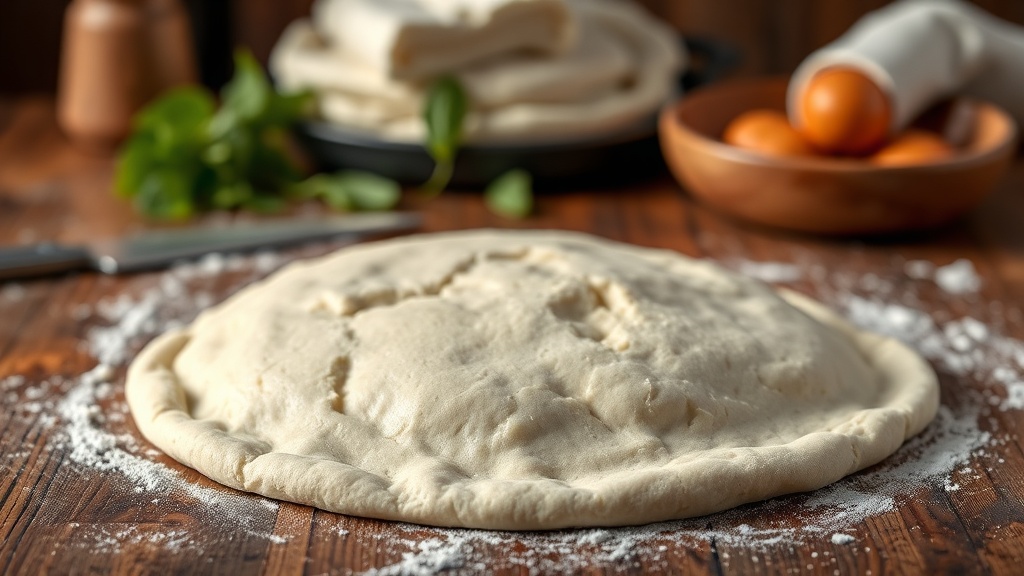
Place your smooth, elastic dough in an oiled bowl, cover with a damp tea towel, and let it rise in a warm spot for 1-2 hours until doubled in size. Punch it down gently—this isn't aggression, it's simply releasing those gas bubbles! Divide into two balls for medium pizzas or keep whole for one large. Let them rest for at least 15 minutes; this relaxes the gluten so you can stretch it without the dough fighting back and springing into a ball.
Mistakes I've Made (So You Don't Have To)
Now, let's talk about what not to do. I've made every mistake possible so you don't have to! Never use a rolling pin—that brutal tool crushes all the air bubbles that create those characteristic leopard spots and airy texture on the crust. Instead, use your fingertips to press from the center outward, leaving that puffy edge for the crust. Don't rush the rise; if your kitchen is cold, turn on the oven for just one minute, then turn it off, and proof the dough inside. And please, for the love of all things crispy, preheat your baking stone or inverted sheet pan for at least 30 minutes at 475°F (245°C). A cold pan makes soggy, sad pizza, and nobody wants that.
Make It Your Own
Once you've mastered the basics, the variations are endless. Swap half the flour for whole wheat for a nuttier, heartier flavor, or mix in dried herbs and garlic powder for an Italian herb crust that smells incredible while baking. My kids absolutely love when I make "garlic knots" with leftover dough—simply tie strips into knots, brush with garlic butter and parmesan, and bake until golden. For a white pizza, skip the tomato sauce entirely and top with ricotta, mozzarella, fresh spinach, and a drizzle of honey after baking.
There's nothing quite like pulling your own creation from the oven, bubbling and fragrant and crackling slightly, knowing you built it from nothing but flour and water and patience. So roll up those sleeves, embrace the inevitable flour on your nose, and remember: even if it's not perfectly round, it will still taste like pure joy.