The Creamiest New York Style Cheesecake You'll Ever Make

There's something magical about the way a perfect New York Style Cheesecake melts on your tongue—that dense, velvety richness that somehow manages to be both decadent and light at the same time. I still remember the first time I nailed this recipe. It was my daughter's sixteenth birthday, and after three failed attempts that resulted in cracked tops and soggy crusts, I finally understood what makes this classic dessert so special. It’s not just dessert; it’s a labor of love that brings people together around the table, forks poised, waiting for that first heavenly bite.
Why This Recipe Holds My Heart
Every time I make this cheesecake, I'm transported back to that birthday celebration—the look of wonder on my family's faces when I finally carried out that tall, pristine cake with its perfectly smooth top. This isn't a quick weeknight dessert, and honestly, that's what I love about it. It demands patience, attention, and care, which makes the final result feel like a true achievement. When you slice into that creamy column of goodness and hear the satisfied sighs around the room, you'll understand why this has become my signature bring-to-every-party dish.
The Ingredients That Matter
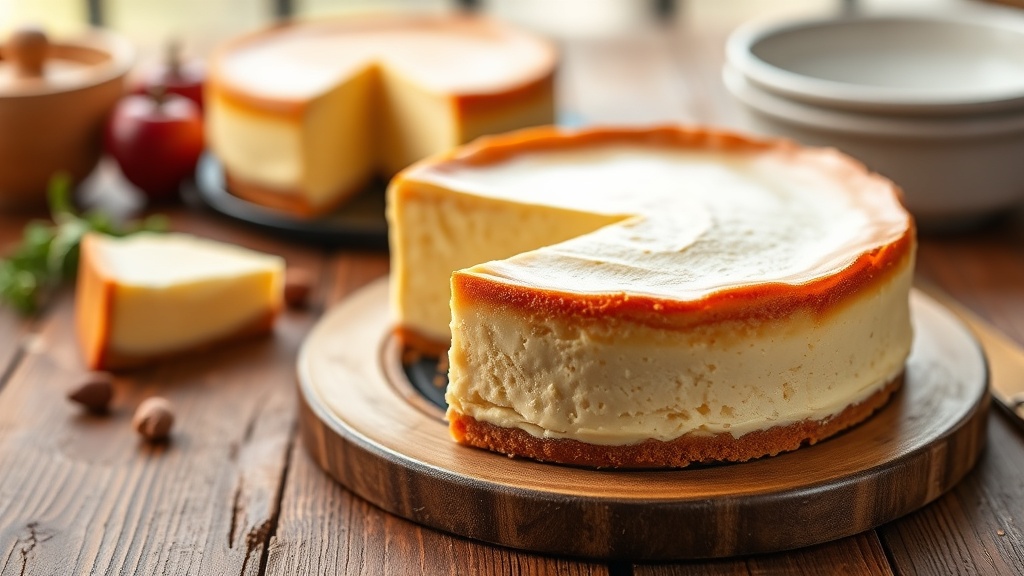
What makes this cheesecake distinctly "New York" is its incredible density and height, achieved through specific ingredients that work in harmony. You'll need four 8-ounce packages of full-fat cream cheese—please don't skimp with the low-fat variety, as it won't give you that luxurious texture we’re after. Room temperature eggs (four large ones) are crucial; cold eggs will create lumps that refuse to smooth out no matter how long you beat them. I always add a cup of full-fat sour cream for that subtle tang that balances the sweetness, plus real vanilla extract and a whisper of lemon zest to brighten the flavor without overwhelming the cream cheese. For the crust, simple is best: graham cracker crumbs, melted butter, and a touch of sugar pressed firmly into the pan.
Step-by-Step to Perfection
Let’s walk through this together, step by step. First, prepare your springform pan by wrapping the outside tightly with heavy-duty foil—this is your insurance policy against water seeping in later. Make your crust by combining two cups of graham cracker crumbs with half a cup of melted butter and two tablespoons of sugar. Press this mixture firmly into the bottom of your pan and bake at 325°F for about ten minutes. While that cools, beat your room-temperature cream cheese until it’s completely smooth and fluffy, about three minutes. Here’s my golden rule: add the sugar and beat until just combined, then add the eggs one at a time, mixing on low speed after each addition. Overbeating incorporates too much air, which causes cracks! Gently fold in the sour cream, vanilla, and lemon zest.
Now comes the secret to that silky texture: the water bath. Place your foil-wrapped springform pan into a larger roasting pan and pour hot water into the outer pan until it reaches halfway up the sides of your cheesecake pan. Bake at 325°F for about 75-90 minutes until the edges are set but the center still jiggles slightly like a gentle wave. Turn off the oven, crack the door open with a wooden spoon, and let it cool slowly for an hour. This gradual cooling prevents the dreaded crack down the middle. Then refrigerate for at least four hours, though overnight is even better for flavor development.
Mistakes I’ve Made (So You Don’t Have To)
I’ve made every mistake possible with this cake, so let me save you some heartache. Never use cold ingredients—they won’t blend properly and you'll end up with a lumpy batter that no amount of mixing will fix. Don't peek by opening the oven door during the first hour; the temperature drop can cause sinking and cracking. Skipping the water bath is a recipe for a dry, cracked top, so don't talk yourself out of that extra step. And please, resist the urge to rush the cooling process. I know it’s tempting to pop it in the fridge immediately, but that thermal shock will crack your beautiful top faster than you can say "cheesecake."
Delicious Variations and Serving Suggestions
While this cake is absolutely divine plain with its pure vanilla notes, I love offering variations for special occasions. A tangy raspberry coulis drizzled over the top adds beautiful color and cuts through the richness perfectly. For chocolate lovers, a dark chocolate ganache poured over the cooled cake creates an elegant black-and-white effect that's dinner-party worthy. During summer months, I top slices with fresh macerated strawberries and a dollop of lightly sweetened whipped cream. My personal favorite way to serve it? Slightly chilled with a hot cup of dark roast coffee—the temperature contrast between the cool, creamy cake and the warm beverage is simply divine.
Final Thoughts
Remember, baking this cheesecake is as much about patience as it is about technique. Trust the process, embrace the wobbly center when you pull it from the oven (it will set as it cools!), and know that you're creating something truly special. Whether it’s for a milestone birthday, a holiday gathering, or just because it’s Tuesday and you need something wonderful, this New York Style Cheesecake has a way of making any moment feel like a celebration. Take your time, enjoy the rhythm of the process, and don't forget to save yourself the first slice. You've got this, baker!