From Starter to Slice: Your First Perfect Sourdough Loaf

"There's something magical about peeking into your oven and watching a pale, unassuming blob transform into a golden, crackling dome of sourdough perfection. When I baked my first loaf five years ago in my tiny kitchen with a borrowed starter, I was terrified. The recipe looked like a chemistry equation, and my first attempt emerged dense as a brick. But something about the process—the earthy smell, the tactile joy of folding dough, the anticipation— hooked me immediately. Now, there's nothing quite like the rhythm of feeding my starter on Sunday mornings and the comfort of slicing into a loaf that my family fights over, still warm from the toaster.
The beauty of sourdough lies in its simplicity and patience. Unlike commercial yeast breads that rush to the finish line, sourdough asks you to slow down and observe. You only need four ingredients, but each one plays a crucial role in creating that tangy flavor and chewy, open crumb we all crave.
Key Ingredients: The Fab Four
Flour is your foundation. I prefer a mix of 500g bread flour (for strength and structure) and 100g whole wheat or rye (for depth of flavor and nutrients). The protein content matters—look for 12-14% protein bread flour. Higher protein means better gluten development and those gorgeous holes in your crumb.
Water should be filtered or left to sit overnight to dechlorinate. Chlorine can inhibit your wild yeast friends. Room temperature works, though warm water (around 78°F) speeds things up slightly in winter.
Salt isn't just for flavor—it controls fermentation speed and strengthens gluten structure. I use fine sea salt or kosher salt; avoid iodized table salt which can impart a metallic taste.
Your Starter is the heart and soul. This living culture of wild yeast and bacteria needs love, consistency, and patience. If it doubles reliably within 4-6 hours of feeding and passes the float test (a small dollop floats in water), it's ready to bake.
Step-by-Step: Your Weekend Rhythm
Mixing: Combine your flours and water first, letting them rest for 30 minutes (autolyse). This hydrates the flour and starts gluten development. Then add 100g active starter and 11g salt with 25g additional water. Mix until just incorporated—rough hands work best.
Bulk Fermentation: This is where patience pays off. Cover your bowl and let it rise at room temperature (70-75°F) for 4-6 hours. Perform stretch-and-folds every 30 minutes for the first two hours: wet your hand, grab one side of the dough, lift and fold over itself, rotating the bowl. You're looking for 50% growth, a jiggly consistency, and the dough passing the poke test—when gently pressed, it springs back slowly but not completely.
Shaping: Turn your dough onto a lightly floured counter. Gently pre-shape into a round, bench rest 20 minutes, then final shape. Create surface tension by folding the edges toward the center, then flip and drag toward you to tighten the skin. Place in a floured banneton or bowl lined with a tea towel, seam-side up.
Cold Retard: Refrigerate overnight (8-24 hours). This develops complex flavor and makes scoring easier.
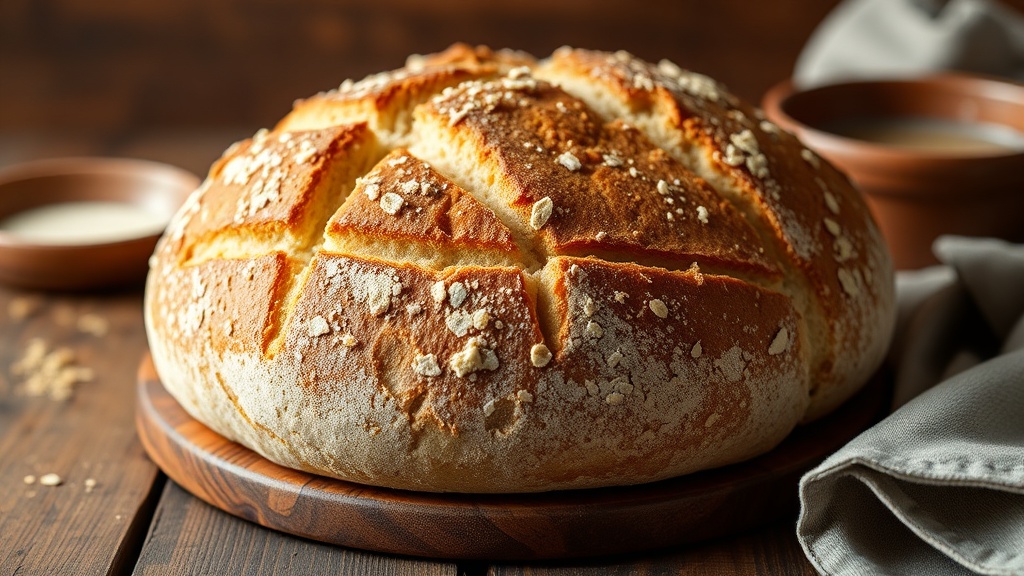
Baking: Preheat your Dutch oven at 450°F for at least 30 minutes. Score your dough with a sharp blade or razor—one deep slash or decorative pattern. Bake covered for 20 minutes, then uncover for 20-25 minutes until deeply golden and hollow-sounding when tapped. Cool completely on a wire rack—resist temptation!
Common Mistakes to Avoid
Don't rush your starter. If it's not doubling predictably, your bread will be flat and gummy. I've served plenty of doorstops learning this lesson.
Avoid over-flouring your work surface. A sticky dough is actually good—the extra flour won't hydrate properly and creates unwanted streaks in your crumb.
Watch your fermentation temperature. Too cold (below 65°F) and you'll wait forever; too warm (above 78°F) and things move too fast, creating overly sour, slack dough.
Resist slicing warm bread. Steam escapes, the crumb gets gummy, and you'll wonder why your beautiful loaf deflated.
Variations and Serving Suggestions
Try adding chopped rosemary and roasted garlic during the last stretch-and-fold, or mix in dried cranberries and toasted walnuts for a breakfast loaf. Everything bagel seasoning sprinkled on top before baking adds delightful crunch.
Serve thick slices with cultured butter and flaky sea salt, or use day-old bread for incredible French toast. My kids love it toasted with avocado and lemon, while I prefer mine with almond butter and honey.
Remember, every loaf teaches you something. That uneven ear on your scoring? Character. The slightly open crumb? Rustic charm. Sourdough is forgiving once you understand its rhythm. Start this weekend, embrace the process, and soon you'll have your own Sunday morning tradition rising in your kitchen."